
Avatar setup
WigglePenAvatar uses Modular Avatar to add the pen to your avatar. This guide covers prefab placement and a first drawing test.
1. Import the packages
Check the Requirements, then import Modular Avatar and WigglePenAvatar into your avatar project.
2. Place a prefab for each hand
Open this folder in the Project window:
Assets/TpLab/WigglePenAvatar/Prefabs/| Prefab | Drawing hand |
|---|---|
| WigglePen_Right | Right |
| WigglePen_Left | Left |
Drag the prefab you want into the Hierarchy as a direct child of the avatar root. To use both hands, add both prefabs.
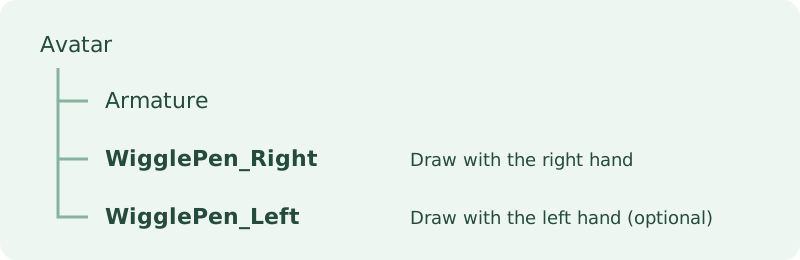
Example Hierarchy layout
Where to place the prefab
Keep the prefab root directly under the avatar root. You do not need to move it under a finger bone manually.
3. Check the fingertip and save
Select the placed prefab. Avatar Pen Auto Placement detects the fingertip automatically. In the Scene view, check that the pen tip is near the end of the index finger.
If it is misaligned, see Fingertip placement. Once you have checked and adjusted it, save the scene. Placement is calculated in Edit mode and is not recalculated during the build.
4. Try drawing
If you use Gesture Manager, enter Play mode and open the WigglePen menu for the hand you installed. The same menu is available in VRChat.
The menu labels below match the Japanese labels shown in the asset.
- Turn ペン ON/OFF (Pen ON/OFF) on.
- Make the Point gesture with that hand, extending the index finger.
- Hold the gesture for the default delay of 0.3 seconds, then move your hand to draw.
- Stop making the Point gesture to stop drawing.
- Use 全消去 (Clear all) to erase your lines.
See Drawing, erasing, and colors for the menu controls.